I have been trying to get into physical Warhammer for more than 25 years since I played it as a child. The main reason I haven’t until now is the costs involved in the hobby and with the fact video games have mostly overtaken and enhanced what board and tabletop games do. This doesn’t mean they are obsolete, just that there is more competition than ever for peoples time. The social aspect of the hobby is still hard to beat though.
Introduction
With COVID-19 hitting last year and me trying to reduce the time I spend looking at screens, I started looking into getting into Warhammer. I was excited to get into Warhammer Quest: Blackstone Fortress a way back but quickly forgot about it. When I finally considered getting Blackstone Fortress the final expansion called Ascension was about to be released. At this time most of the content for the game was hard to get or sold out. Therefore getting into it was not a good idea as you wouldn’t be getting a complete experience. I knew that a new Warhammer Quest would be on the way and this turned out correct as this year Warhammer Quest: Cursed City has been announced. At the time of writing Cursed City is out in less than two weeks.
After some consideration, I decided not to get Warhammer Quest: Cursed City. This is mostly because of the size and the cost involved. While it’s a better setting, a fantasy (Age of Sigmar) one as opposed to Warhammer 40,000, has a co-op and solo play, Cursed City feels too much to get into at once.
Deciding on the Game
I had dismissed the grand match games of Age of Sigmar and Warhammer 40,000 as going that direction was a path to madness. I now looked into the other Warhammer boxed games: Blood Bowl, Necromunda, Kill Team, and Warcry. When looking into a boxed game my main priorities were: cost, size, support, and potential for solo play. All were enticing in their own way and offered some of my preferences.
Blood Bowl was quickly dismissed as while I like the idea of American football with violence, it is too rule-heavy and costly for what you get.
I always liked Necromunda as it’s the best thing in the Warhammer 40,000 series. This is because it’s small gangs fighting in a unique setting with extensive campaign potential. Again the cost of getting involved is pretty dire. Also, the thought of collecting terrain pieces and the like for the immersive experience made me feel sick. The core set is currently unavailable with a new one coming out soon.
Kill Team is in some ways like Necromunda and has the same pitfalls of cost and space required. It is Space Marines and the like without the seemingly fun campaign of Necromunda. You could easily interchange the two. The core set is currently unavailable and only an expansion set is available.
Warcry is similar to Kill Team and Necromunda. It on the other hand offers one of the most beginner-friendly games. It is simple to learn and offers plenty of replay value with a great campaign. The cost and space required is still a problem for the game. Out of all the boxed games, this is the one I gave the most consideration to. This game’s core set is currently unavailable, replaced by one called the Catacombs. Which is actually more interesting if less in overall value than the original starter set. I ultimately decided against it as the next game was chosen.
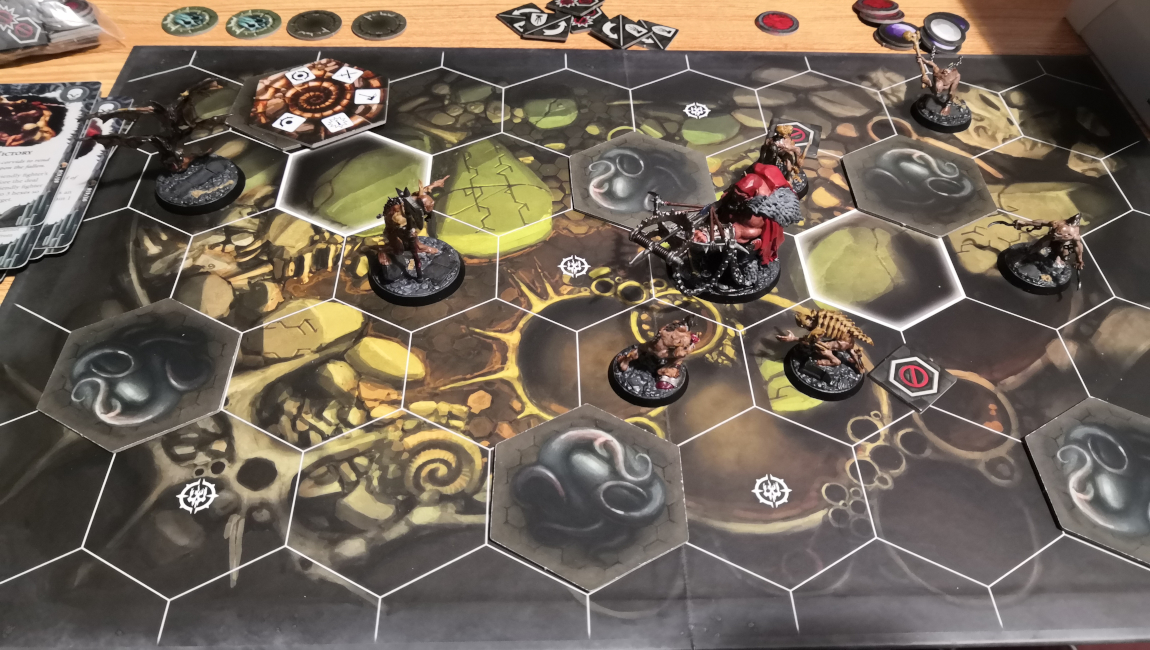
I eventually chose Warhammer Underworlds and in this regard the current release called Direchasm. It fills all the criteria I set: Inexpensive, doesn’t require a lot of space, plenty of support, and potential for solo play. The only problem with Underworlds is that it works on a season format. Each year is a new season with cards circling out in competitive matches, meaning that old cards are often worthless. If you only play casual matches this isn’t a problem. The main problem with seasons is that old warbands and core sets become unable to buy unless you manage to get a second-hand copy. The longer you wait the less you can easily purchase.
What makes Underworlds worth getting into is the ease of learning the game and the opportunity to dig deeper into more complex strategies and mastery of the systems involved. It offers the stables of board games that most expect in a game: cards, dice, miniatures, tokens, and a game board. All five of these are the foundation blocks for thousands of games and Underworlds uses these to good effect.
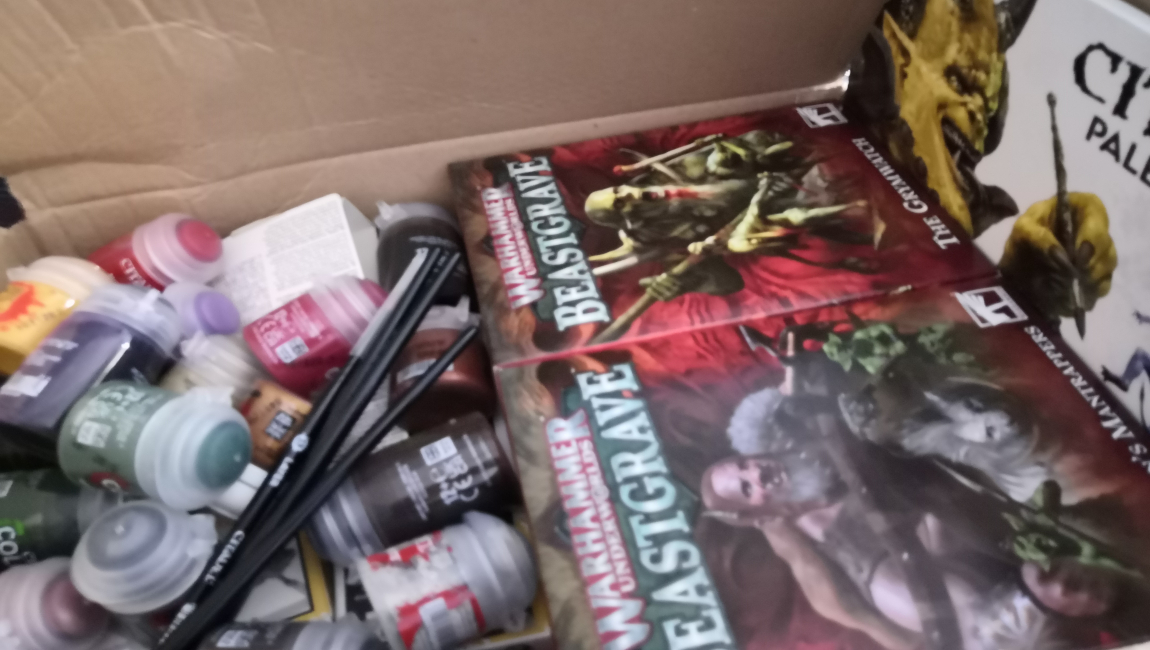
I end up buying Direchasm, a couple of warbands, some brushes and paints. I was now ready to build and paint Warhammer for the first time ever.
Warhammer as a Hobby
As I said earlier I played Warhammer when I was a child with my older brothers. I have fond memories of playing the first edition of Space Hulk and Man O’ War. I fondly remember seeing the grand golden eagles on the shoulders of the Judge Dreed miniatures and comics for the first time. I have never built and painted miniatures before so this is my first time. In this post, I will go through my first experience with building and painting. I will also offer some tips for people who might want to do the same.
Warhammer is a three-pronged beast. It involves building, painting, and playing. The easiest part and most fun part is likely playing the game prong. As it’s a hobby many people may only fully enjoy or take part in one part of these prongs, and some do a different combination of them. Some might only paint and play, some might only play, some might just like the lore and reading the books.
The most important thing about this hobby is that you should only do the things you enjoy. Unless you are getting into the competitive scene you can just play without painting or even using proxies for the miniatures. It can be expensive so the main thing to remember is as long as you aren’t breaking some sort of law, have fun.
All the Gear
With all the tools and equipment needed only some are essential and others make your life easier. It all depends on how much you want to spend. A lot of the time third party alternatives do perfectly fine.
Table and Chair
Important pieces. You will want a table with space if possible, sturdy and firm. You will want a chair that is comfortable and adjustable for extra comfort. Posture is important when painting so try to keep straight and not to crouch and bend over. If this can’t be avoided as these are small parts you are painting make sure to take regular breaks. Even with the right posture breaks are important.
Lighting
Light is an important and necessary piece of the puzzle. You will want natural daylight. This doesn’t mean to paint outside it means you will want to get a lightbulb that gives similar white light. This will allow you to paint easier and see the true colours you are using. Most will use a lamp of some kind and many are available online. Try to get one that can shine from above downwards. Some use two lamps, one on each side to reduce shadows. Getting the right setup may take time and is something I am still trying to perfect.
Clippers
These are used to remove the miniatures from the plastic trays “sprues” (the flat plastic web). Citadel Fine Detail Cutters from Games Workshop can be used or you can try to find a cheaper alternative. You generally want one with a sharp edge and one that isn’t too big. You don’t want to use a hobby knife as this can be dangerous.
Mouldline Remover
These are used to smooth out the edges of the plastic after being cut from a sprue. You can get a Citadel Mouldline Remover, use a filer, a hobby knife, or even sandpaper. A mouldline remover is generally the best option. If you don’t care about the nobbly bits on your miniatures then these aren’t essential. Removing the moulds does make them look better and allow you to paint them easier.
Glue
You will want to get plastic glue if you are assembling non-push-fit miniatures. Either way glueing them can be better as this will allow you to achieve a more seamless connection between two pieces of plastic. You can use superglue but plastic glue works better on plastic and is less messy.
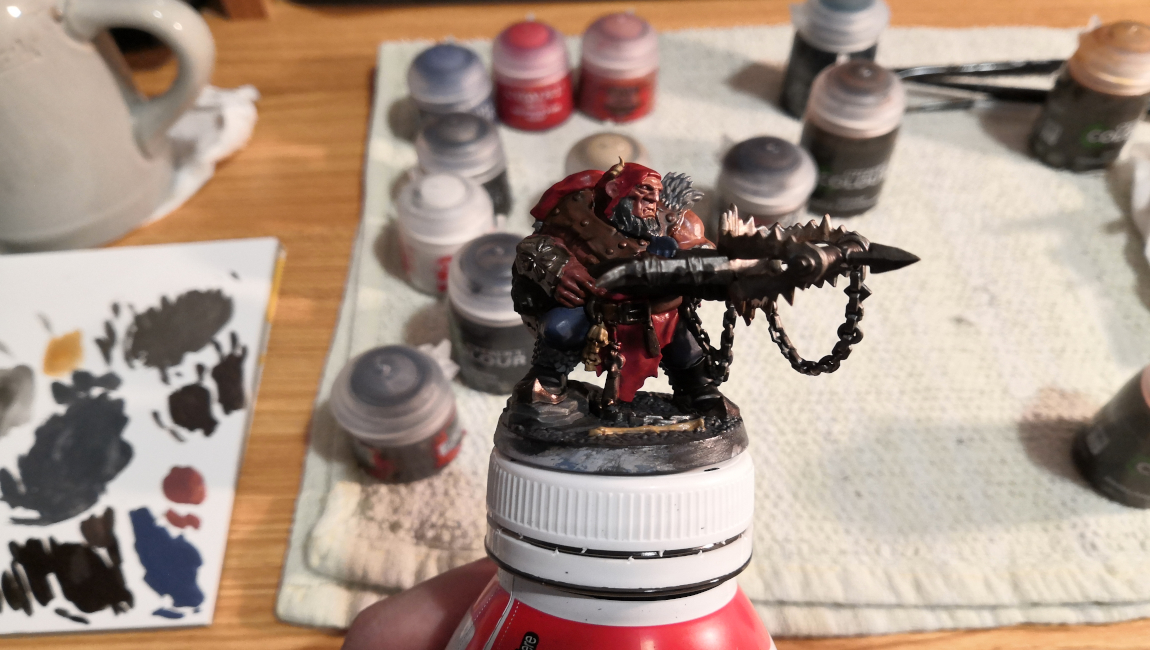
Handle
People like to use a handle where they place their miniature to make it easier to paint. You can get the Citadel Assembly Handle or use a bottle and blu tack. You can even just hold onto the base if you don’t mind getting your hands a bit dirty. A handle is useful when painting as it allows you to reinforce and keep your hand and steady.
Water Pot
You will need a water pot to clean your brushes and to thin down your paints. You can buy a Citadel Water Pot, don’t do that use an old mug or cup.
Palette
To control your paints and water them down a palette is required. You can buy a Citadel Palette Pad or use a prober artist one. Some will say to get a Wet Palette which is good at reducing the paint you use and keeping them from drying out. When starting out or only doing a few quick miniatures at a time this isn’t essential.
Brushes
If you want to paint you will need brushes. You will want a small one for fine details, a larger one for base painting, one for shade painting (washes), and likely another one for dry brushing. You can get Citadel brushes, some from The Army Painter, or just a few cheap ones. I made the mistake of not getting a small enough brush for highlighting and fine details. I have avoided doing these when painting for the time being.
Paints
This is where things can get expensive. If you know what colours you want feel free to get those paints. Generally, you only want a few colours, likely the primary colours, black, white, and a couple of shades. This is because you can mix colours and produce any colour you want. It’s normally better to actually buy the colour you want than make it yourself for a couple of reasons. Firstly mixing your own colour means if you are painting and stop when you come back later you might not be able to recreate that same colour. Secondary a specific colour in a pot will be more vibrant and easier to use. Citadel and Vallejo paints are the best options to choose from. Out of all the gear, good paint is the most important.
Starter Paint Sets
If you are new to the hobby and unsure if you will enjoy it Games Workshop produce several starter kits for beginners. They provide paint sets for Stormcast Eternals, Nighthaunt, Space Marines, and Necrons. These are good starting points especially if you like the idea of any of those armies. They also sell a Paints and Tools Set for both Age of Sigmar and Warhammer 40,000. From those, you can expand outwards and add to them. It’s worth mentioning that the tools they provide in these kits aren’t the best and you will likely want to replace them if you get more involved.
Carry Cases
You can either make your own carry cases or buy some. If you are only starting out then these will likely not be required. Once you get a collection of paints and miniatures a carry case is useful. Citadel sells paint boxes, and figure cases that can be used to store and transport your paints and figures. Other companies also provide alternatives.
Painting Mat
You might want to get a mat to make sure your painting area is safe from getting ruined by paints. Citadel and others sell mats you can use. I on the other hand just use a flat cloth over the table surface.
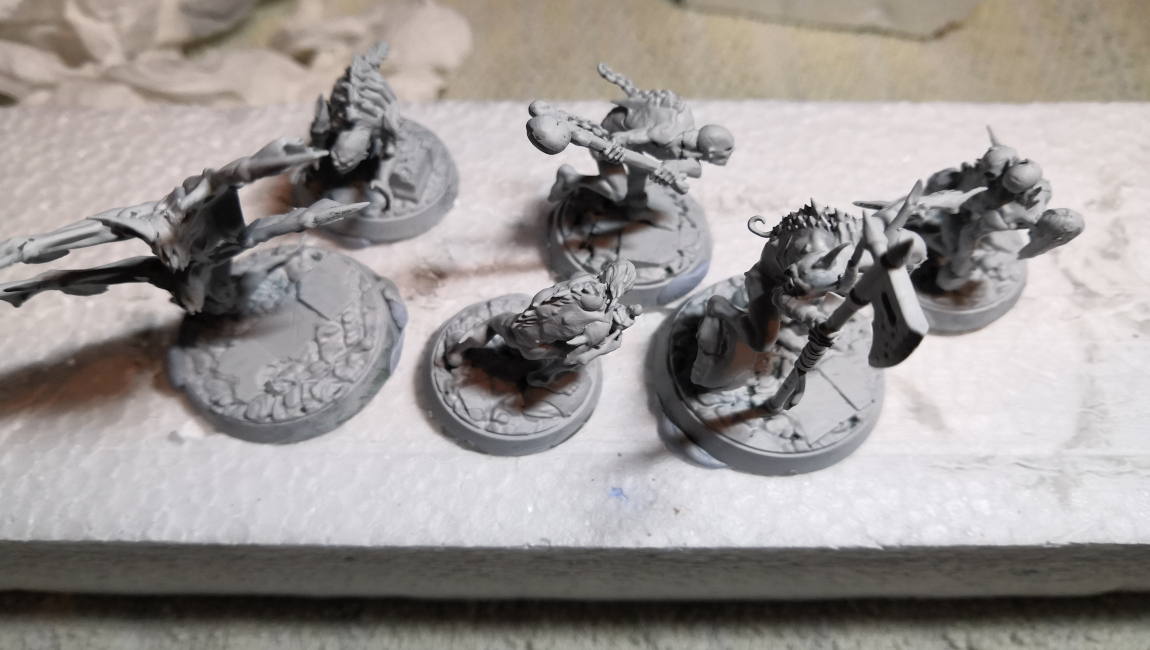
Building
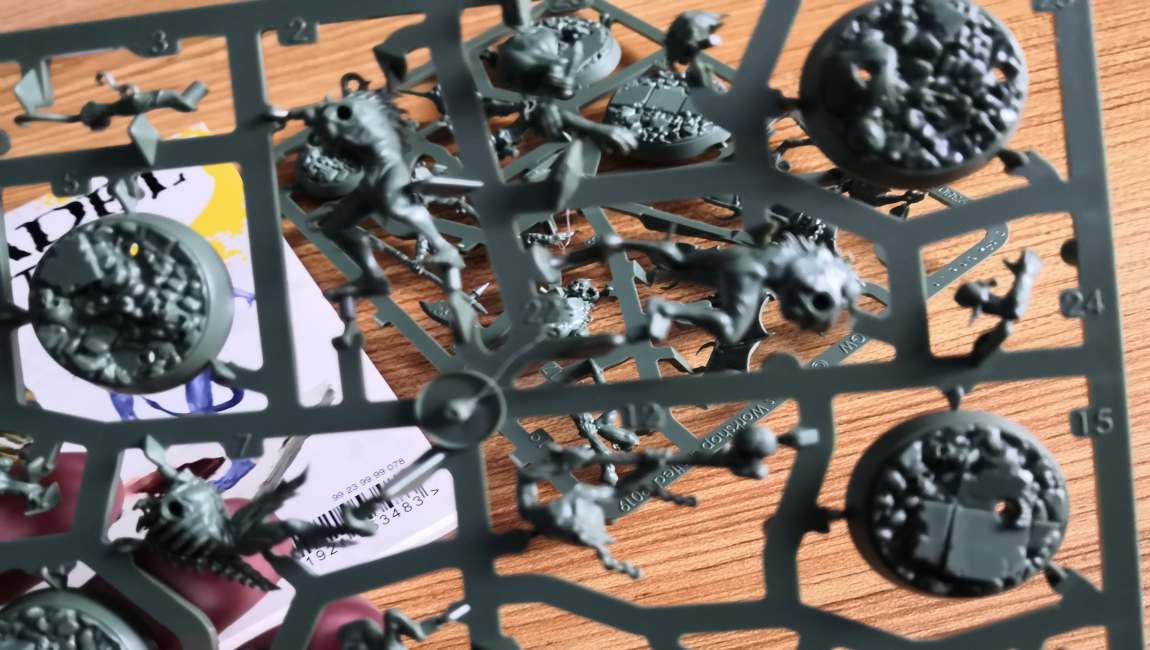
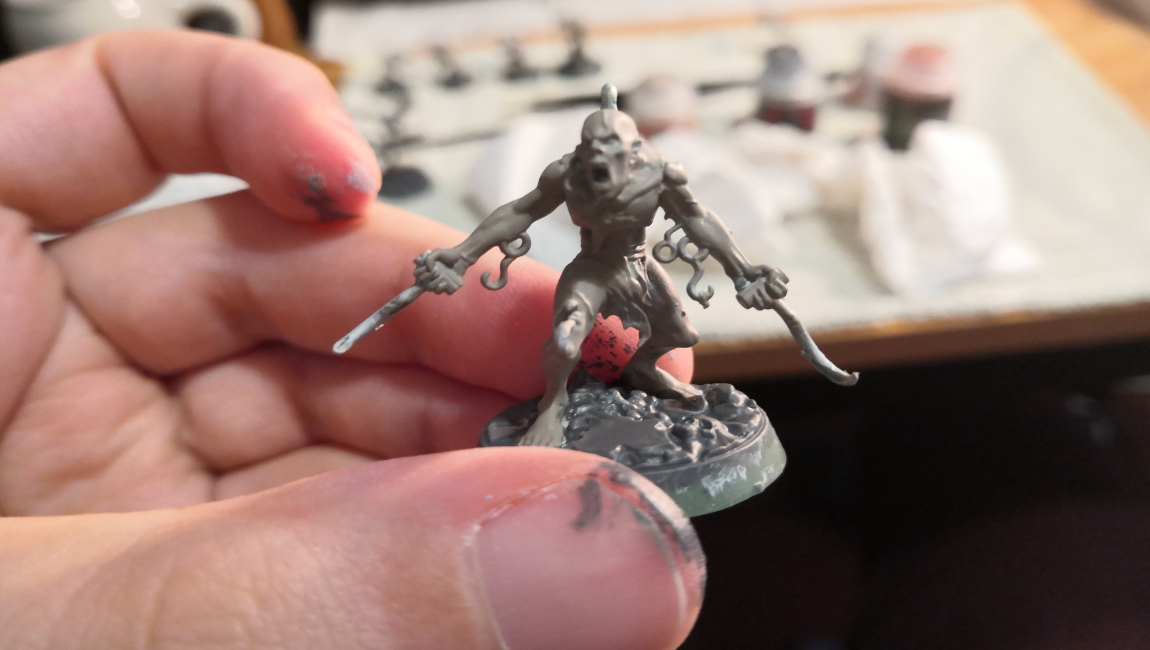
Building a miniature can be the easiest depending on the plastic kit and the most fun. All will have instructions on how to build it, and if you do one miniature at a time and follow the step by step guide you should be fine.
When cutting plastic parts out of a sprue you need to make sure you are careful with your cuts. When doing this you can be as safe as you want. You can cut right to the line or leave space and then use a mouldline remover or hobby knife to finish the job.
Once you have your parts cut out, assemble them and glue them together according to the guidelines provided. If these are push-fit then this step can be pretty easy.
When glueing pieces do one at a time and don’t use too much glue. The glue shouldn’t squirt out from the sides. A glued piece only takes a few seconds to get a solid connection. If you make a mistake you can correct it if you are fast enough.
An advanced technique is to paint all the pieces before you assemble the miniature. A lot of veterans don’t do this and it’s debatable if the time it takes is worth it in the end.
Once you have assembled the miniature you have two options. You can either glue it to the base or temporary attach it to the base. If you glue it will be more secure for painting but when you get to painting the base it can be harder. If you temporarily attach the miniature when you do the basing stage you can remove it to gain unrestricted access to the hard to reach areas.
Some people like to paint the base first and some do it last. It’s up to you and can depend on whether you glued the miniature on the base first or not.
When you have based the miniature and before you paint it you will want to make sure you remove all the mould lines on it. This is optional but even a bad paint job looks better with all mould lines removed.
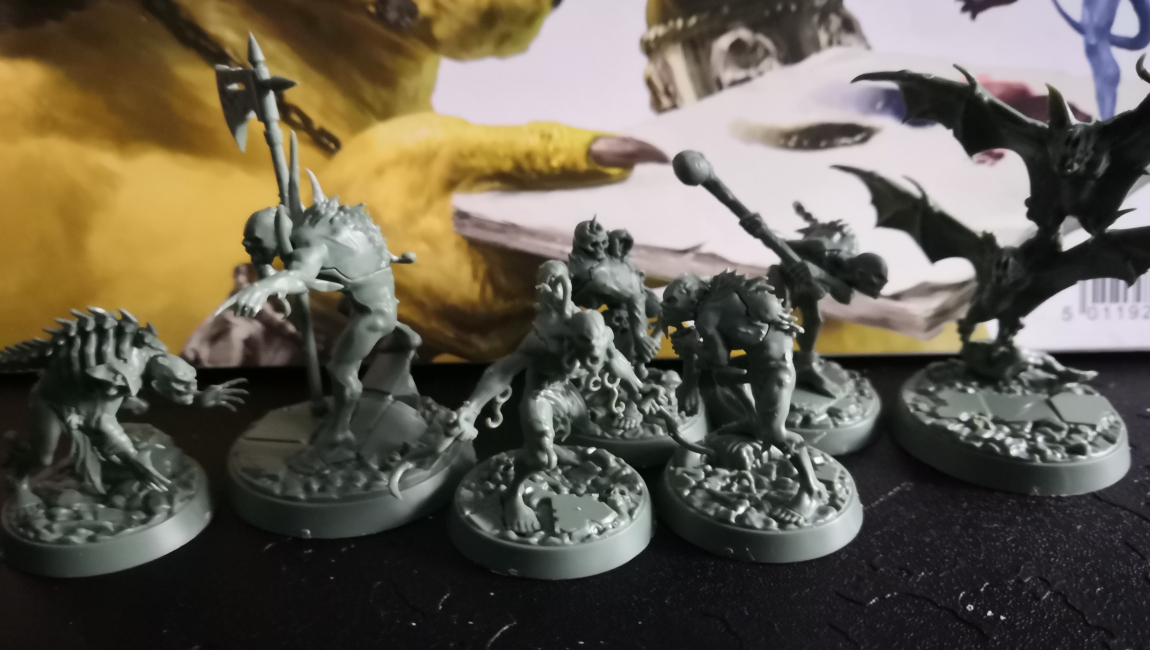
Once you assembled, based and mould line removed the figure, the end result will be pretty little miniature. You might want to stop here and play some games, and many people just do that.
Painting
The hardest and most rewarding of all parts of the hobby can be painting. Some avoid it, get others to do it, or just do the best they can. Like all things the more you do it the better you will become at it. That being said even a bad paint job will look better than an unpainted miniature. Colour really does add a lot and from a distance will look fine.
I am new to painting myself, while I would say I am an artistic person, I like to draw etc. painting and colouring I always disliked. I often ruined my drawing with paints when I was younger. I belong to the school of using one chalk, pencil, or charcoal and using different shading techniques to achieve different looks. These same techniques can be used in painting.
There is a reason Space Marines are some of the most popular faction in Warhammer as they are easy to paint. Of course, you can get fancy and make it more elaborate. That being said with a few colours you can have a pretty decent squad of Blood Angels or Ultmarines in no time at all. All the factions in the painting starter sets (Stormcast Eternals, Nighthaunt, Space Marines, and Necrons) can be easy to paint.
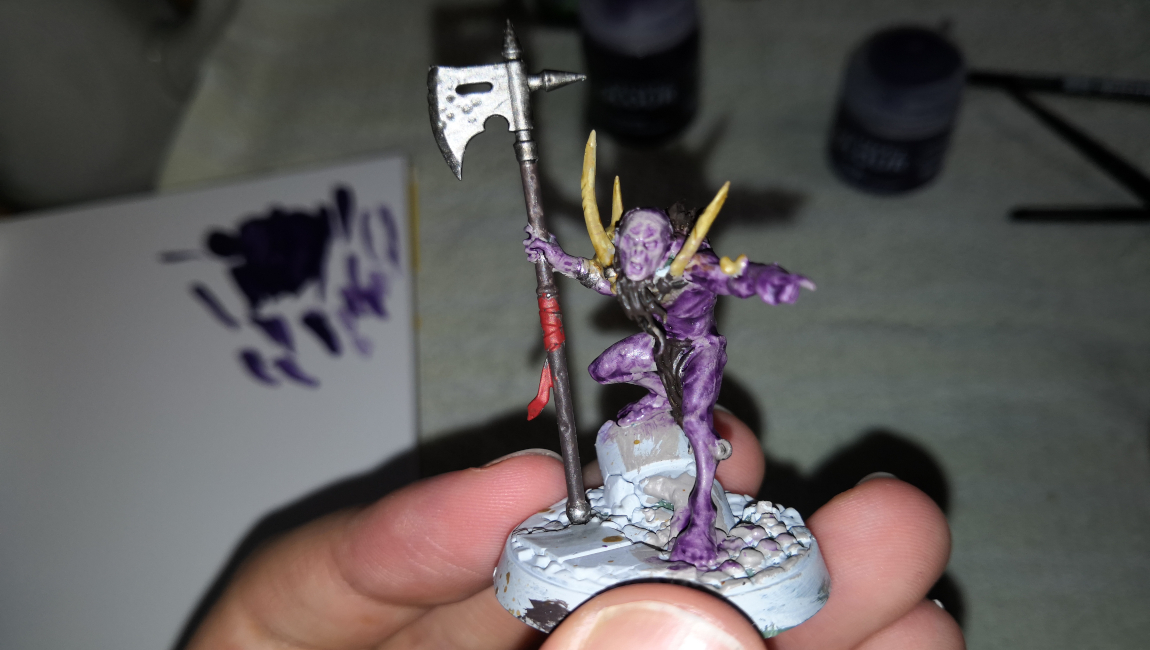
There are two methods of painting: Classic and Contrast. Classic is where you build up the paints from the base to layering and highlighting. Contrast is where most of it is done by using contrast paints. Either one can be easy and both provide different results. I have stuck with classic as that is more forgiving. This is because the contrast paints work like shade paints and are used to wash over a miniature. This means you have to worry about the paint pooling and you will need to make sure to keep it smooth. It’s easy to mess up which I have learned the hard way myself.
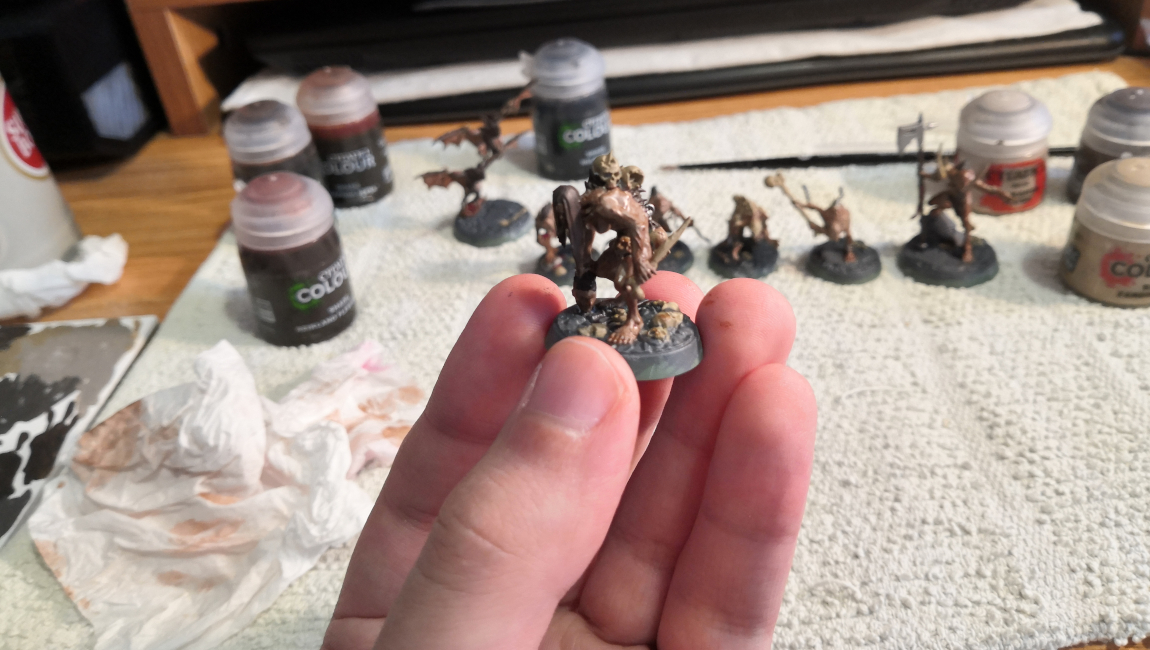
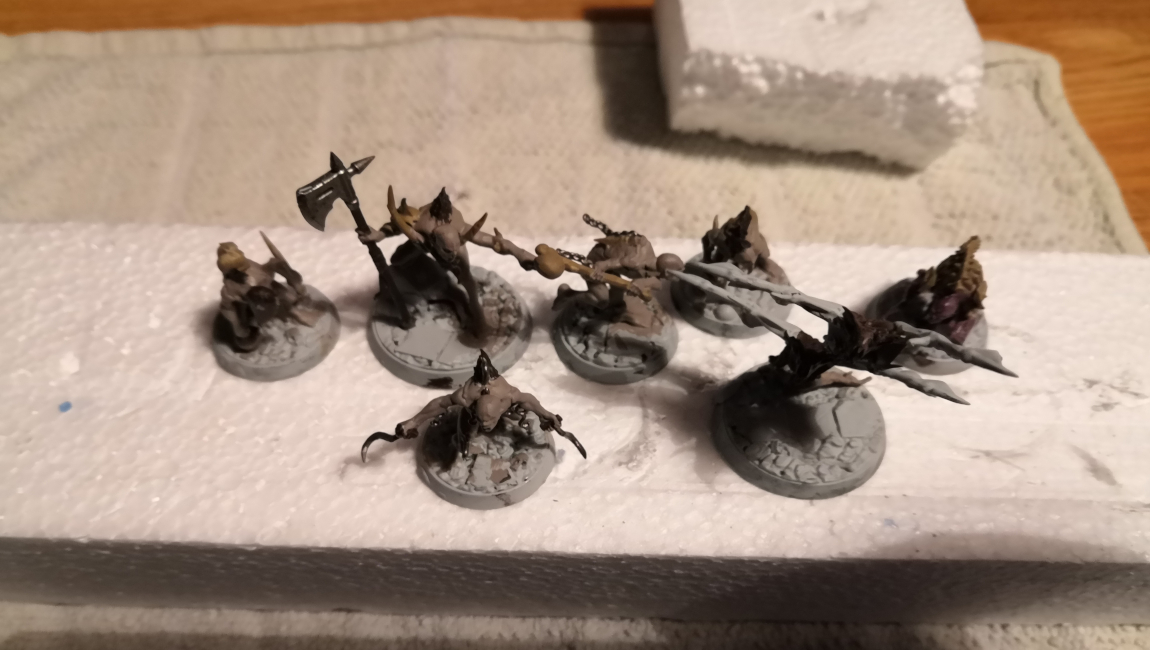
You may wish to do the technique of batch painting when working on several miniatures. This involves painting one figure before moving onto the next. For example, you might base paint the skin of one before doing the same on the next one and so on. When you eventually get back to the first it will be dried and ready for colours. This method is a quick way of painting several miniatures at once and is good for squads and horde type armies.
I am a beginner and this is what I have been doing so far.
Painting with the classic method:
- Decide on your colour scheme first and get the paints required. This can be as complicated as you want to make it. Optionally use the Citadel Colour app to find the right combination of colours you can make. Importantly makes sure to shake all paints before using them.
- Undercoat the miniature. You can use a spray primer or do it by hand. Spray can result in smoother finishes but these sprays can be fickle and react to environmental conditions. Doing it by hand is safer but will take longer. When doing it you need to make sure you don’t go too thick. So make sure to thin the paint or spray slowly from a distance. If you use spray there is a technique called zenithal priming where you coat the bottom area black and the top area in white to help give a more shaded look.
- When undercoating you can use any colour. All are used in different circumstances. The main three to consider are:
- White such as Corax White. Gives lighter colours, harder to cover the white spots. Easier to see what you are doing.
- Grey such as Mecahnicus Grey. Best of both and used by experts.
- Black such as Abaddon Black. Gives darker colours, kinder to missed spots as they just appear as dark shades. Hard to see what you are doing.
- When undercoating you can use any colour. All are used in different circumstances. The main three to consider are:
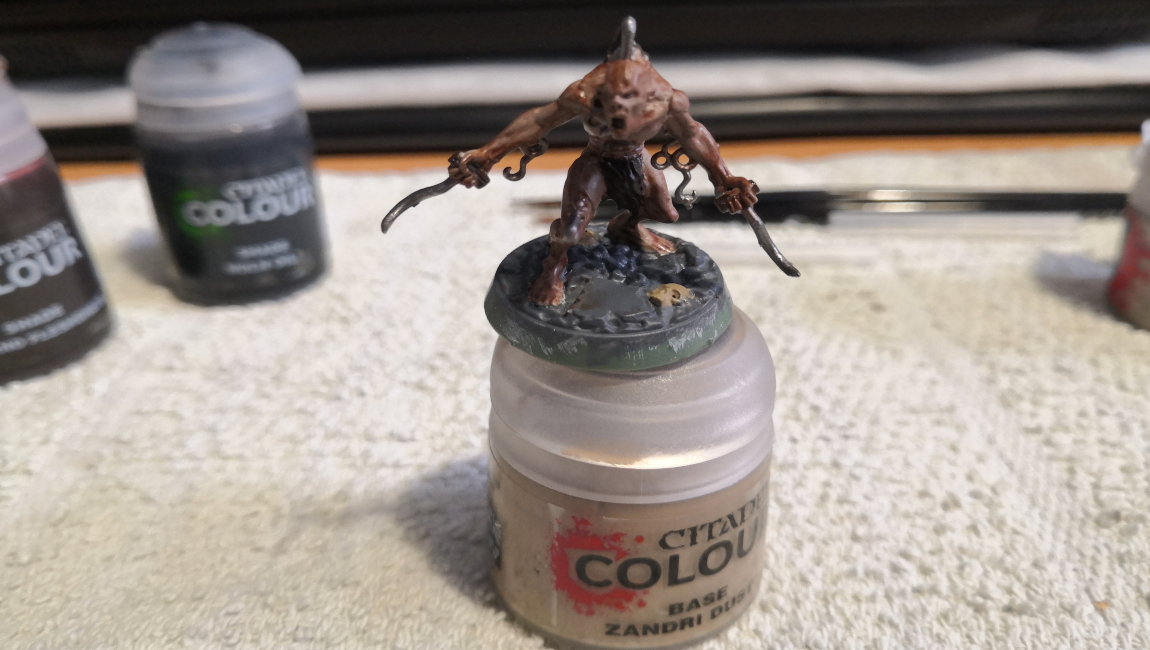
- Base paint the miniature with the colours of your chosen paint scheme. Remember to thin your paints with water. You will likely need to use two thin coats. This part can be pretty messy in places but you can tidy up afterwards. You may want to paint the hardest parts first and work outwards. It depends on the model.
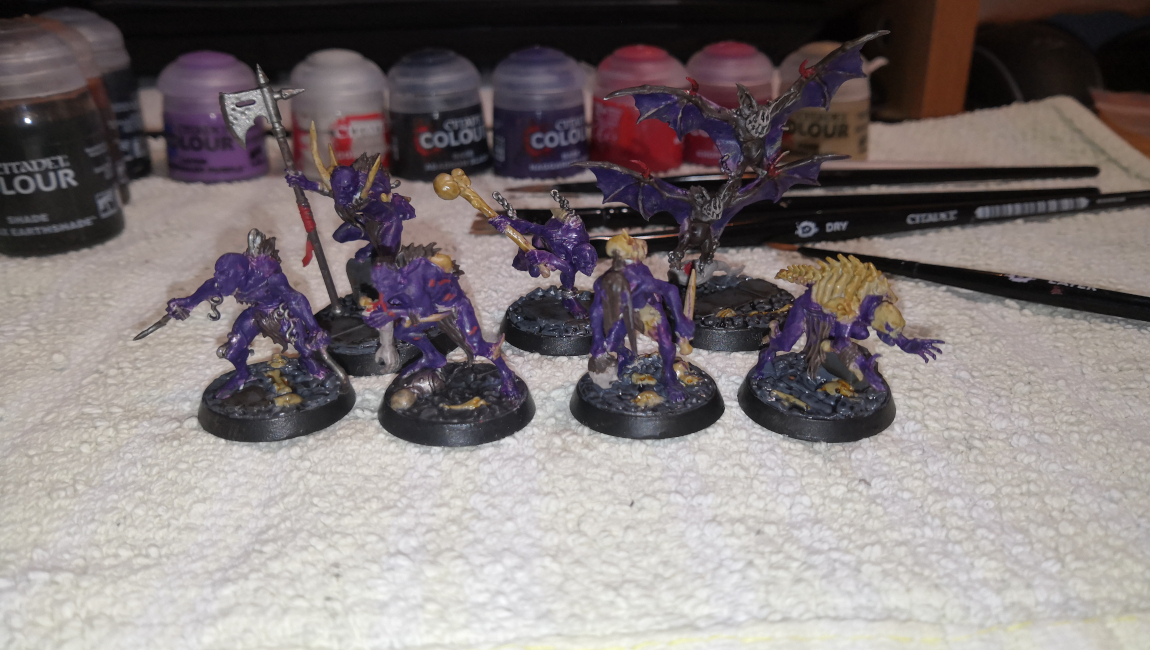
- Shade paint the miniature, don’t use water with them. You can use several different shades for each colour or use just one or two shade paints. There are two shade methods: one where you shade everything and another where you only do the parts you want shaded. The second way requires more work to look good. By shading, you will add depth and darken the miniature. Without shading, it can look flat.
- Shading can be tricky, so remember these points:
- Start on the areas you want to be shaded first before spreading the paint outwards.
- The paint naturally pools so you need to control and stop it from drying on flat areas. Use your brush to do this. If you have put too much on use another brush or the same brush to absorb it.
- These paints can take up to half an hour to fully dry but within a minute or so the paint can pool in areas and leave dark spots or dye type marks. To combat this you need to move fast or work in sections. For example, do an arm first, let it dry, then do the other arm and so on.
- It will take practice and if you do make a mistake don’t afraid to reapply a base paint once dry and try again. I am still trying to perfect shading.
- Shading can be tricky, so remember these points:
- Dry brushing can be done now or ignored. This is where you use an old brush or dry brush to paint lightly over the miniature to pick out the raised areas. You can use specialised dry paint or any other paint you want. Some people paint only using the dry brushing technique. I have mixed opinions on it, it can be fast and efficient, yet it leaves a chalky like look to the miniature. It all depends on what you are looking for.
- You do this by:
- Putting some paint on a dry brush and brushing the excess on a tissue. Only a tiny amount should be on the bristles.
- Now brush the areas you want to be highlighted. Do this gently and you will notice gradually that the raised areas will now be shaded and highlighted.
- You do this by:
- Layering and highlighting is the next step and is where you use lighter base paint or special layer paints to add more definition. There are two ways: layering and edge highlighting. This step is something I haven’t done yet. It essentially involves layering paint on raised areas or highlighting. For example, the flaps on the top of the cloak can be painted to make it seem more detailed. Or you could edge highlight with thin lines the armour edges. You will need the right brushes for this task, such as a detail brush. Make sure to thin paints and paint only edges/raised areas.
- Basing is ordinarily the last step or can be one of the earliest ones. Basing is done the same way as painting your miniature or done differently. You can buy texture paints that use slap onto your base like you are bricklaying. These come in many different types from snow, mud, to sand and are easy to implement. Just make sure you don’t use a brush to apply them. An alternative you may consider is applying glue to the base and dunking it in sand or other material. Finally, you can add tufts of grass to the base if you are feeling lavish.
That is the basics of painting and it is worth remembering that you shouldn’t expect magazine-like quality straightway or maybe ever. The people you see online and elsewhere have been doing it for years and likely get paid for it and in other words, is their job to be good. Just be happy with what you produce and have a good time doing it. Take inspiration from them and don’t let them put you down. You may want to consider not comparing yourself to them as this can be damaging to your mental health.
Mistakes
You and everyone will make mistakes. This is common and not the end of the world. Don’t be afraid to make mistakes or experiment. A lot can be fixed while painting. In the end, you can always fix it with the correct liquid. Using paint remover liquid is usually best when you want to start from fresh than to fix little mistakes.
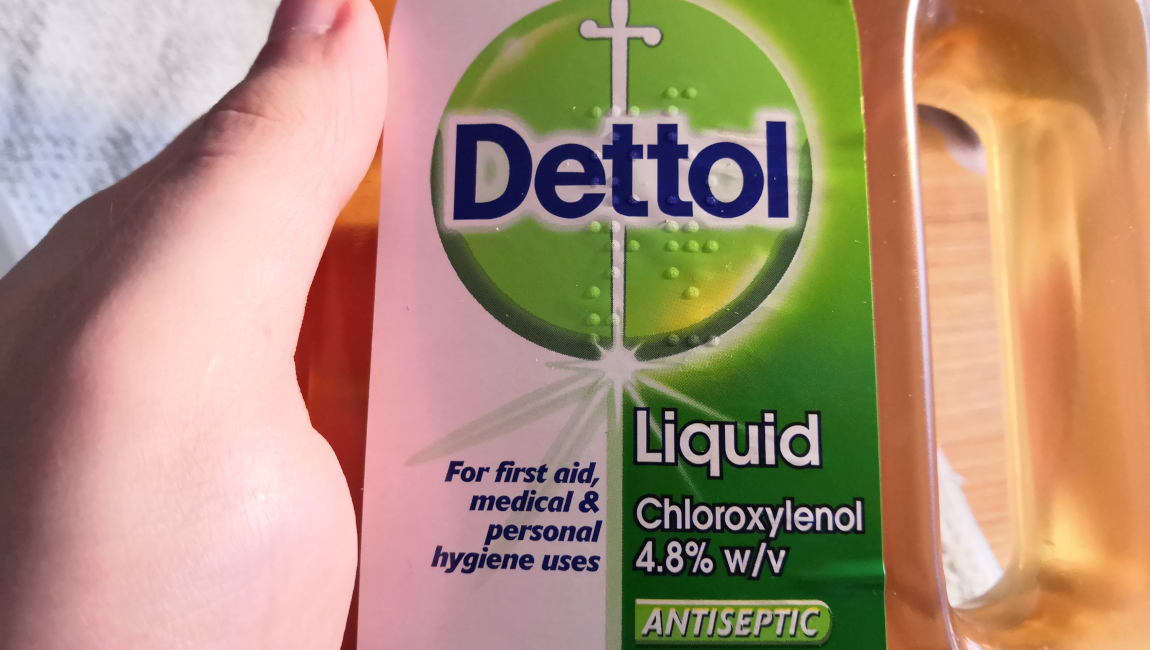
I made some mistakes and wanted to start again so I dunked my models in some Dettol Antiseptic (the product needs to have chloroxylenol) for a bit and gently brushed them clean with an old toothbrush. Afterwards, I cleaned them in clean soapy water.
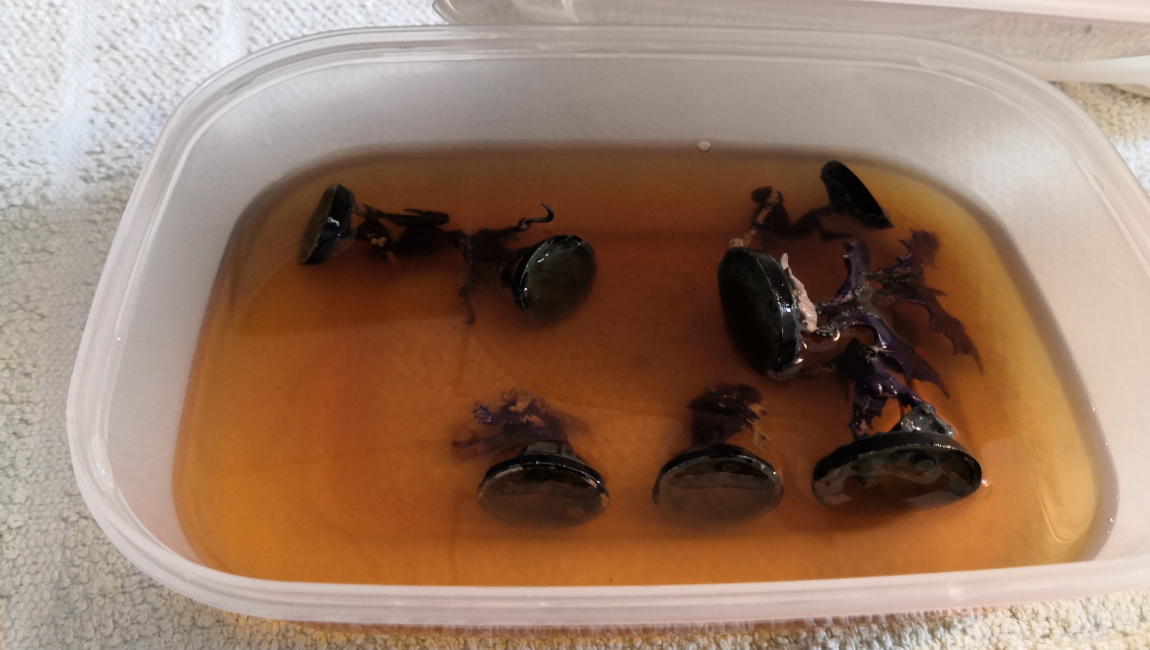
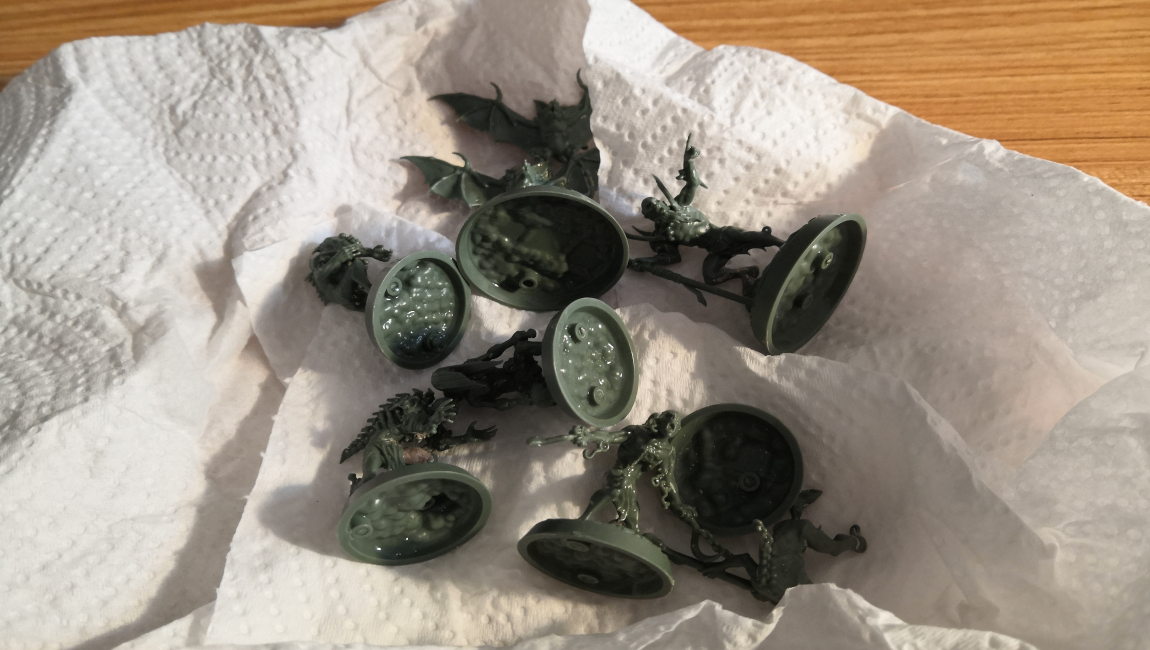
You will be surprised how easy it easy to do and that it doesn’t hurt the plastic. The only thing to consider is that this process can be time-consuming and smelly. Do it only if you think you must. It is a handy backup to have if you are really unhappy with the result or you happen to get/buy already painted models and you want to get them clean.
Other products are available and do the same. Some are even made especially for miniatures.
Ending
I hope some of this has been helpful for new people. It has been useful for me to remember certain aspects of the hobby. The points made in this post can be applied to other miniature games. If Warhammer isn’t to your taste you can still benefit from these tips when painting other board game figures and tabletop games. Discover what you enjoy in the hobby and focus on that. You don’t have to do it all or what you feel you should be doing. Whether you are playing, creating, or reading there is plenty you can do, so have fun.

Reblogged this on DDOCentral.
Great article and I can see some great painted models. Let me know and would love to come round and play a game some time.